

I have wanted fresh elderberries for a long time, so I have my wonderful husband, Michael, to thank for this recipe. While he was out, he spotted an elderberry tree in a wooded area and brought home branches loaded with ripe berries.
I was thrilled when I saw how much he had gathered. Michael also cut several branches so I could try rooting them for my backyard garden food forest. Some cuttings are already sitting in water.
🌳🍇 Why Finally Having Elderberries Felt So Special
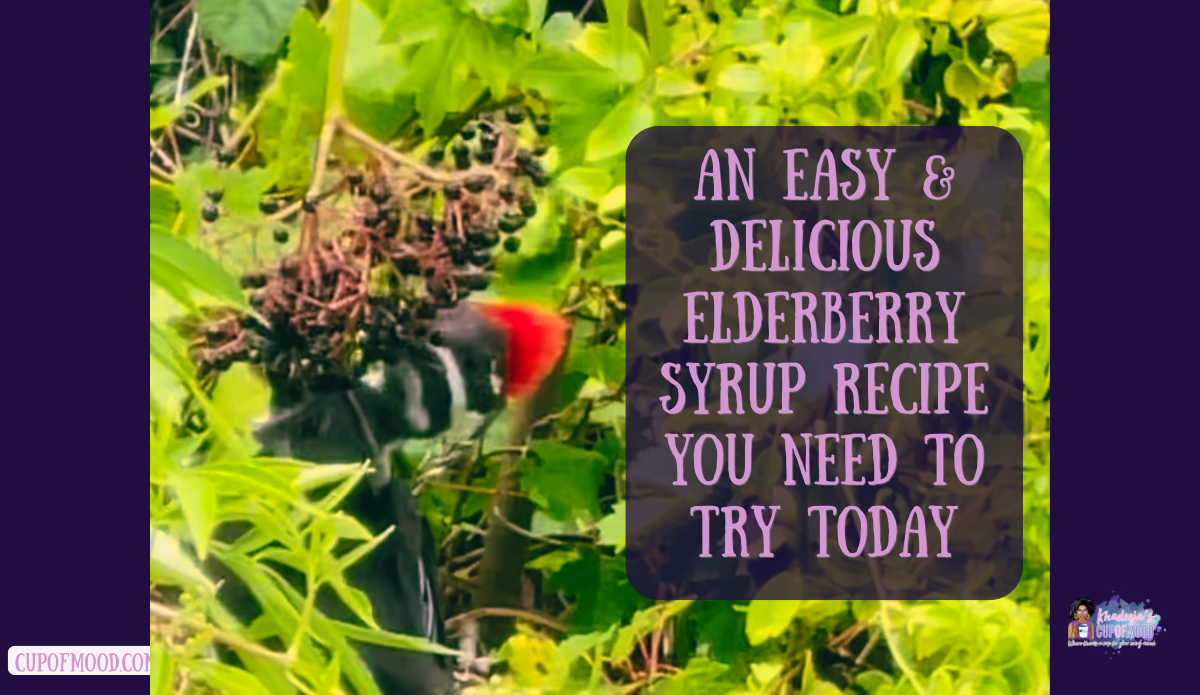
My interest in elderberries started long before Michael brought those branches home. After our house fire, Michael and I lived away from home for two years. Behind our screened apartment balcony stood so many elderberry plants that the area looked like a small forest.
I kept saying I wanted to gather some berries, but our temporary living situation made the timing feel complicated. Still, that elderberry-filled view stayed in my mind. Before this recipe, I had only tasted elderberry in prepared products.
For a broader look at elderberry, read this article about the health benefits of elderberry.
🍇🍴 Step One: Remove The Elderberries From The Stems
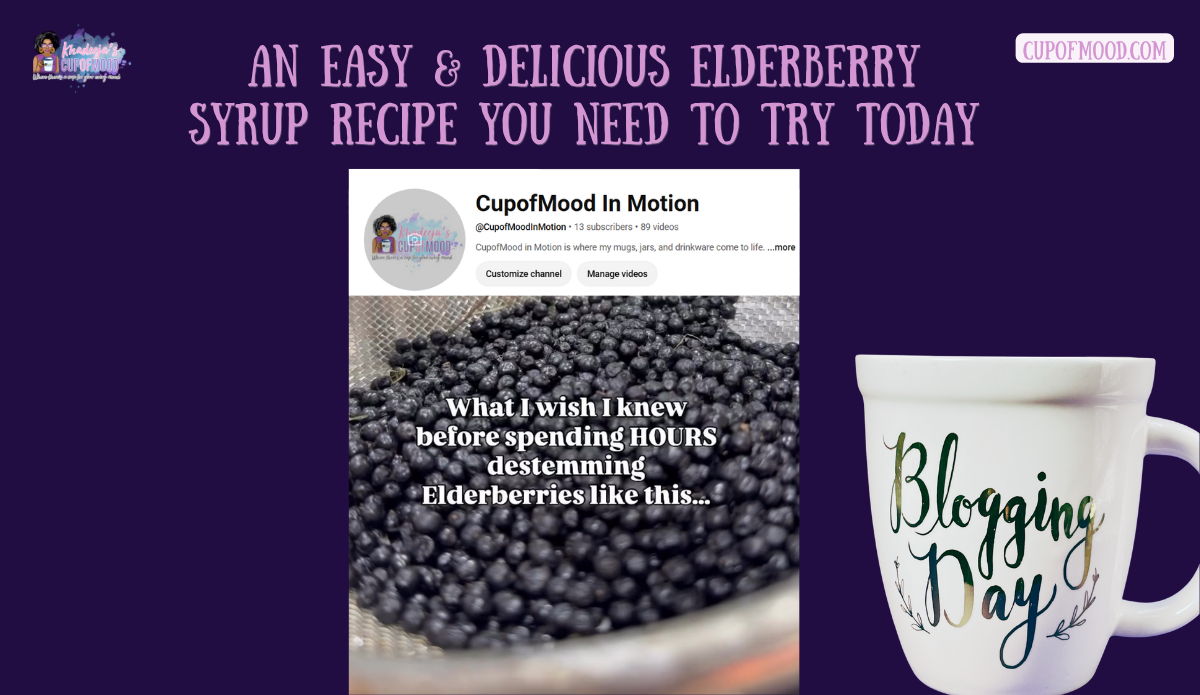
The first step became the longest part of the project. After I posted a picture of the bag on Facebook, several people suggested using a fork to pull off the berries. I watched a few videos, grabbed a fork, and got started.
The method worked, but it took hours. My arm became so tired that I finished the job over two back-to-back days. Since I had never destemmed elderberries before, I had no idea that part could take so long.
Later, one of my Facebook friends suggested freezing the branches for a day or two and shaking the berries loose inside a bag. I already have another batch in the freezer, so I plan to test that method. This inspired my video, What I Wish I Knew Before Spending Hours Stemming Elderberries This Way.
💦🍇 Step Two: Measure And Rinse The Elderberries
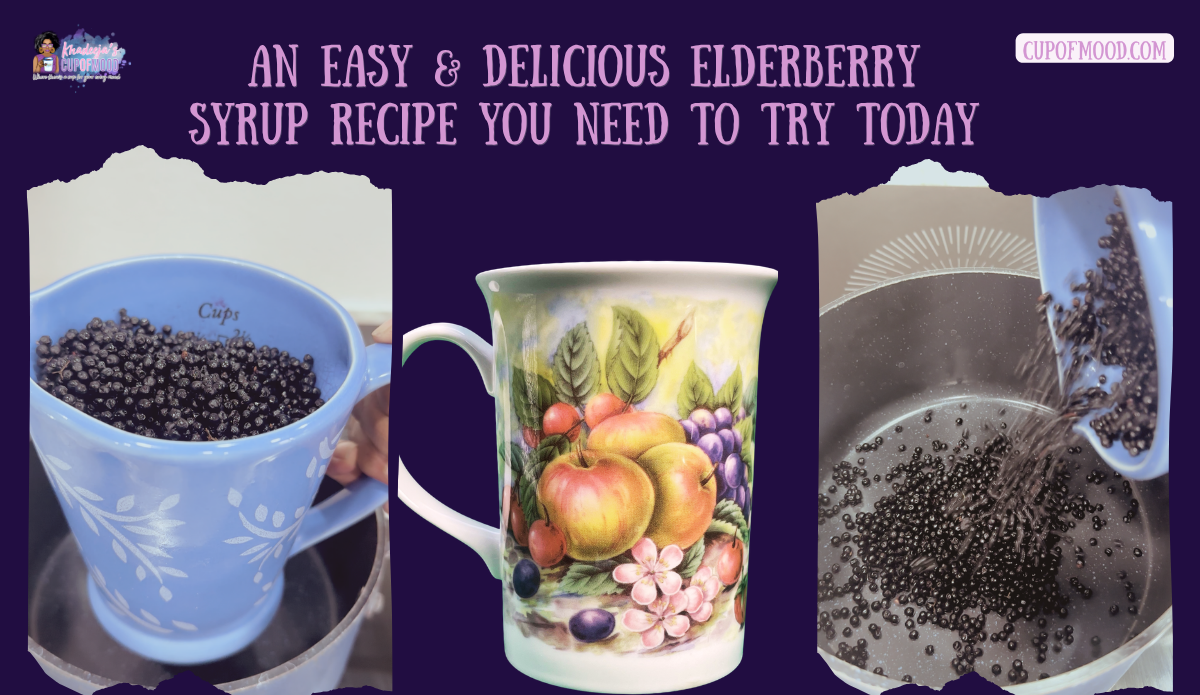
Once the berries were off the stems, I rinsed them thoroughly. Then, I measured a generous two cups in my blue measuring cup. I may have used slightly more, but that amount gave me a flavorful first batch.
I chose a smaller batch because this was my first time making the syrup. Saving part of the harvest also allowed me to make elderberry jam for another blog.
🍲🌿 Step Three: Add The Berries, Water, And Cinnamon
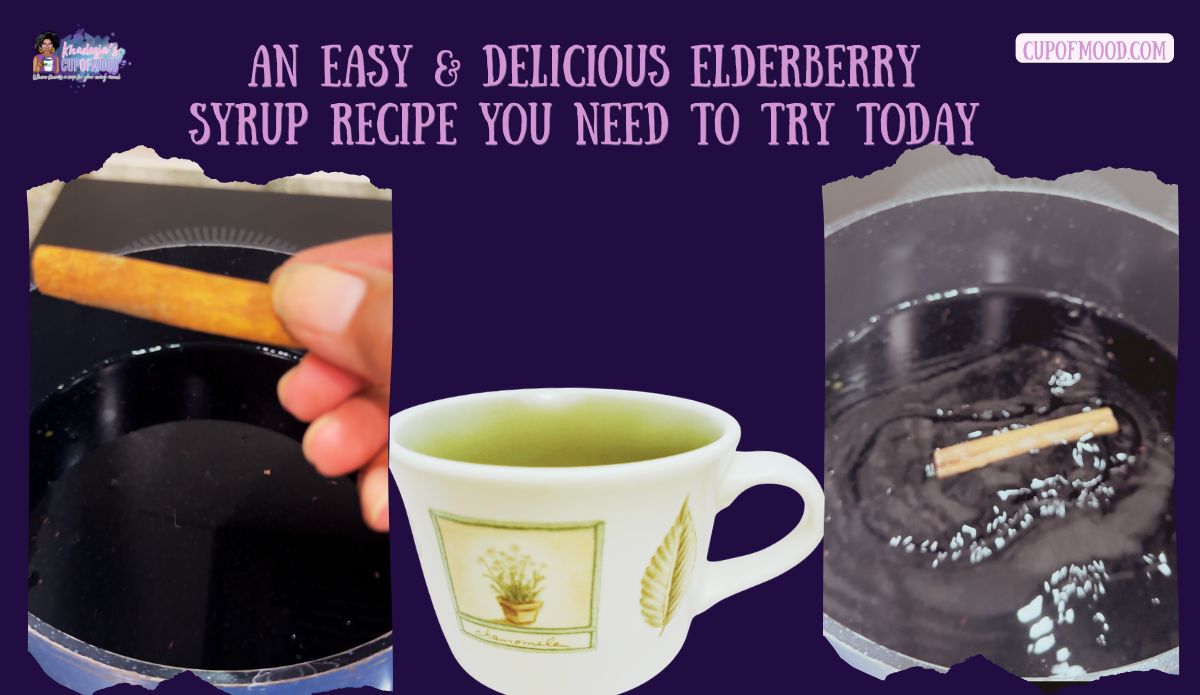
Next, I placed the elderberries into a large pot and added two cups of water. I also added one cinnamon stick for warm flavor. Although the recipe that inspired me included ginger, I did not have any, so I made my version without it.

♨️🥄 Step Four: Boil, Simmer, And Mash
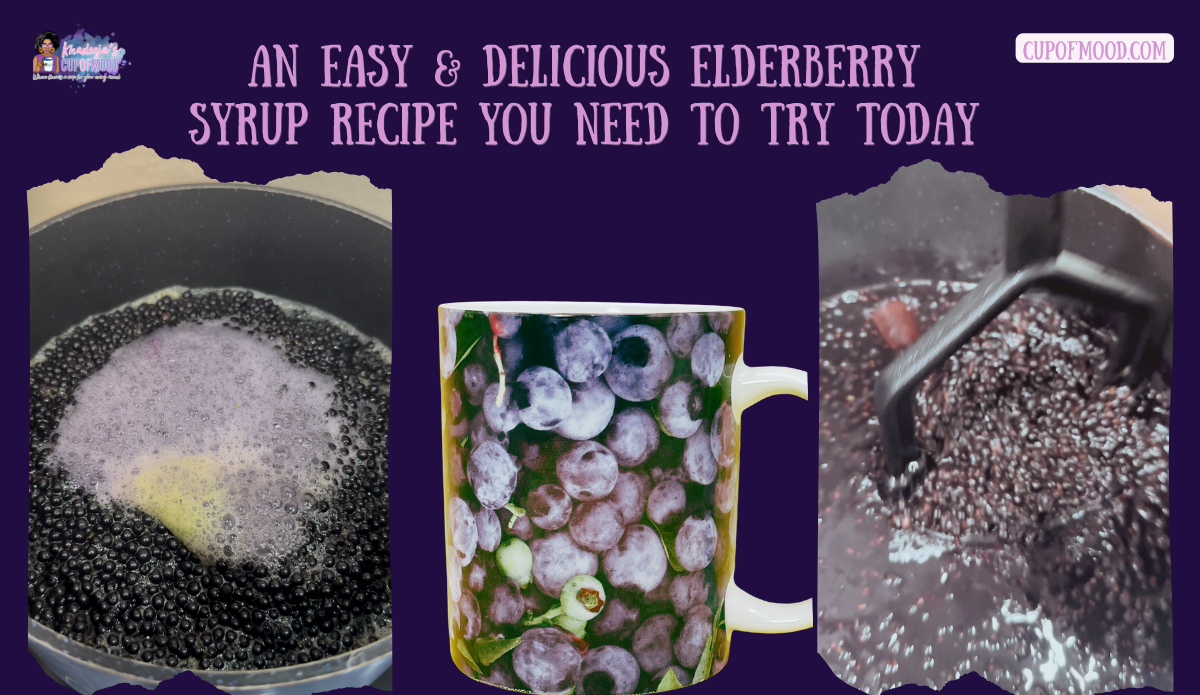
I brought the elderberries, water, and cinnamon stick to a boil over medium heat. Next, I lowered the heat and let everything simmer uncovered for about 30 to 45 minutes. During that time, the berries softened, and the liquid reduced by nearly half.
After removing the pot from the heat, I gently mashed the berries. This helped release more juice before straining.
🥣🍇 Step Five: Strain The Cooked Elderberries
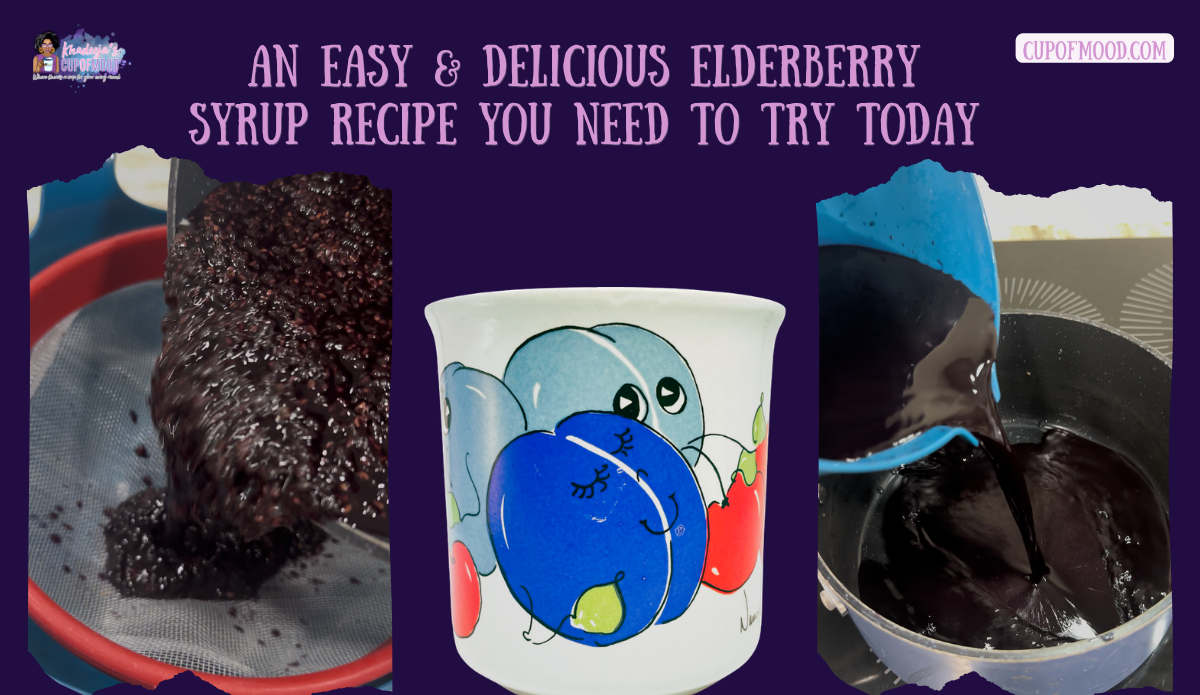
Next, I poured the mixture through a fine-mesh strainer into a bowl. I pressed the berries firmly to collect as much liquid as possible. Then, I discarded the cooked berry solids and removed the cinnamon stick.
🥄🍇 Step Six: Add The Sugar
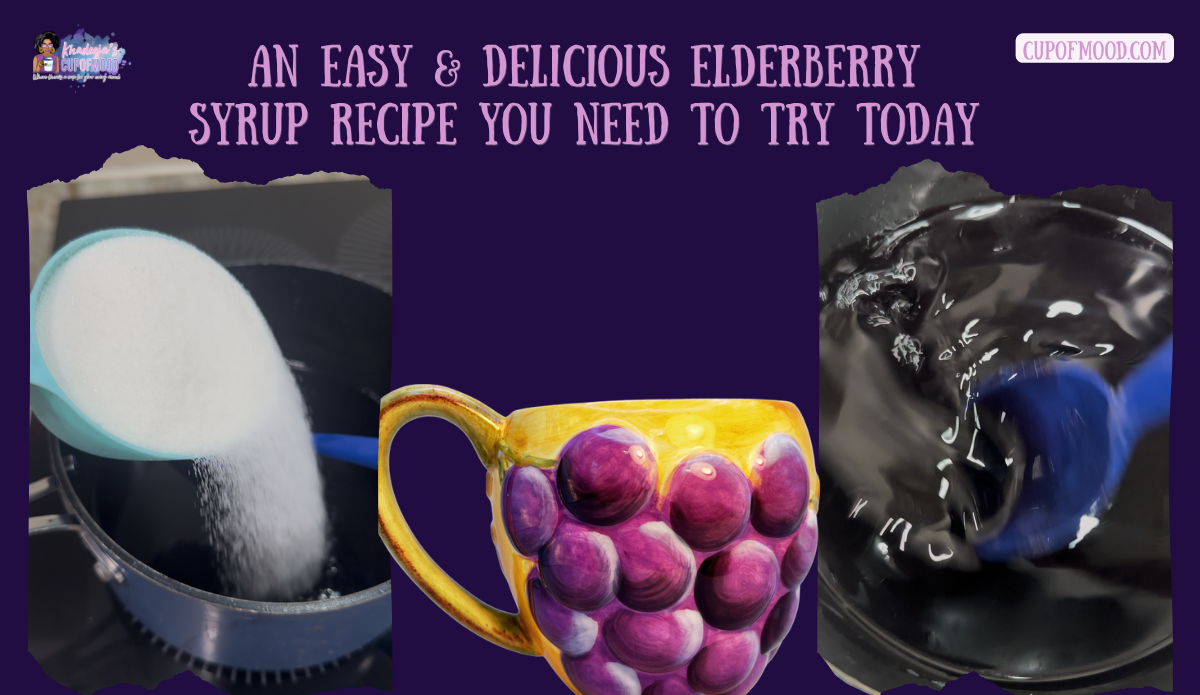
I poured the strained elderberry liquid back into the clean pot and added one cup of sugar. Then, I warmed it over medium-low heat for about 10 minutes. I stirred until the sugar dissolved completely.
Although many recipes use honey, I chose sugar for this batch. It gave me the sweetness and consistency I wanted while keeping the recipe simple.
🫙🍇 Step Seven: Cool And Store The Syrup
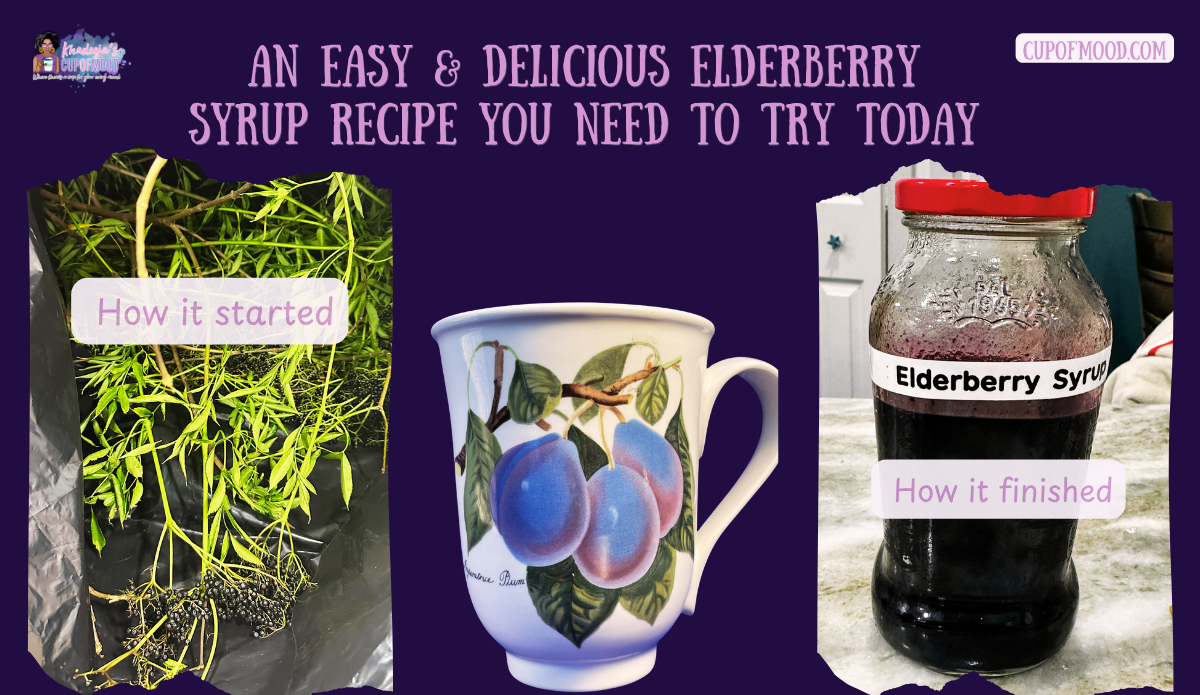
Once the sugar dissolved, I removed the pot from the heat and allowed the syrup to cool completely. Then, I poured it into a clean glass jar with a tight lid and stored it in the refrigerator.
🍋🥤 My First Ways To Use Elderberry Syrup
The first thing I made was elderberry lemonade, and I loved it. The syrup gave the lemonade a deep berry flavor and beautiful color. It was so delicious that I immediately started thinking about other combinations.
The next day, I added a little syrup to my water bottle and topped it with coconut water. That drink was delicious too. Between the syrup, lemonade, coconut water, and jam, I am officially becoming a little elderberry fan.
For more homemade drink inspiration, visit my Sensational Strawberry Guava Lemonade Recipe Sure To Be A Summer Hit. You can also explore A Simple & Delicious Way To Use Extra Basil.
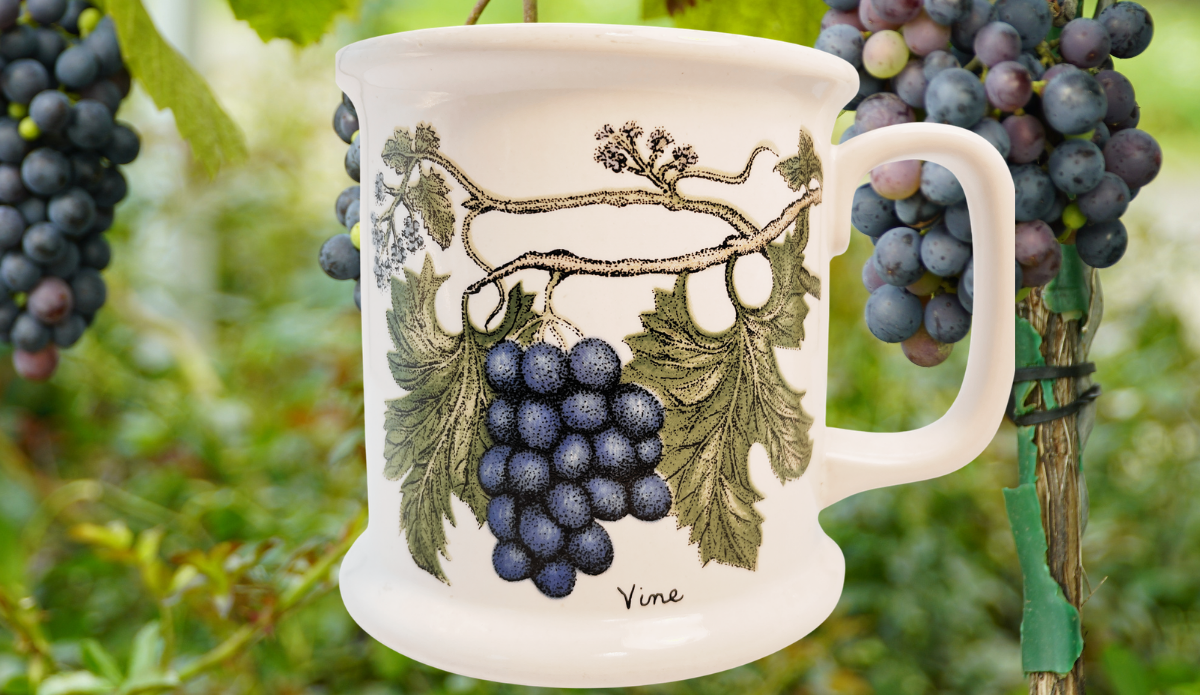
🍇☕ Explore More In The Fruit Collection
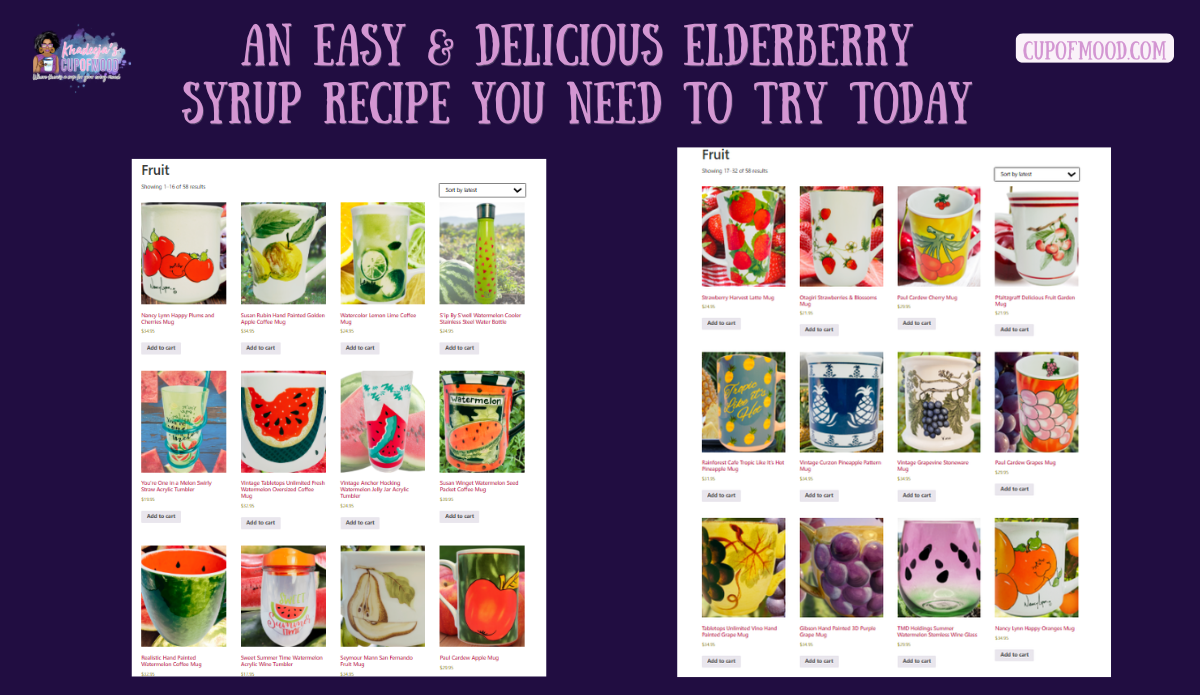
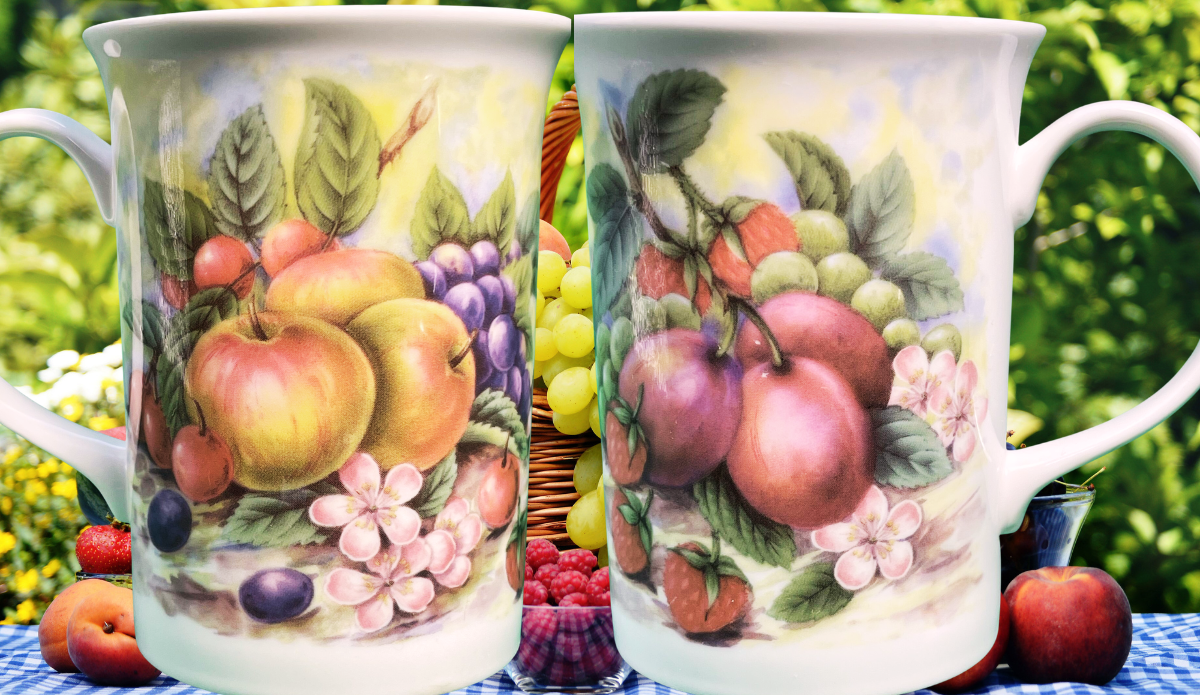
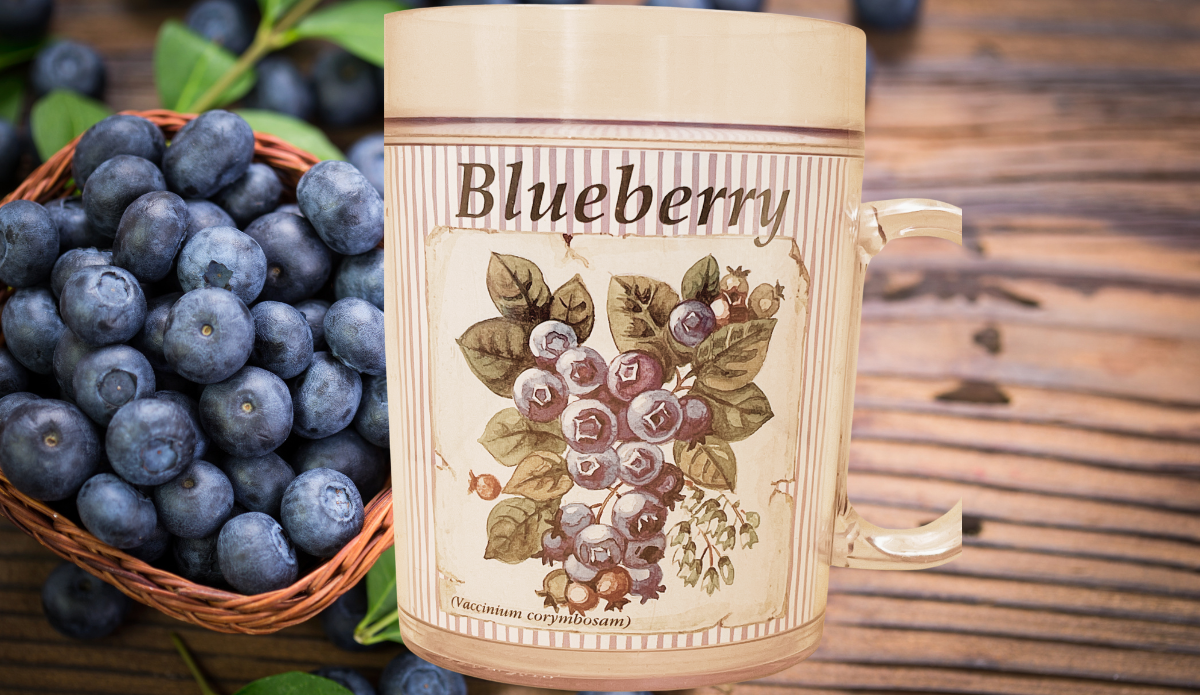
The fruit-themed mugs shown throughout this blog add color and personality to the step-by-step images. Each cup will appear in its own column advertisement directly beneath the image where it is featured. This keeps the recipe focused while the drinkware adds cheerful serving and gift inspiration.
Discover more designs in my Fruit Collection. These pieces pair beautifully with homemade fruit recipes.
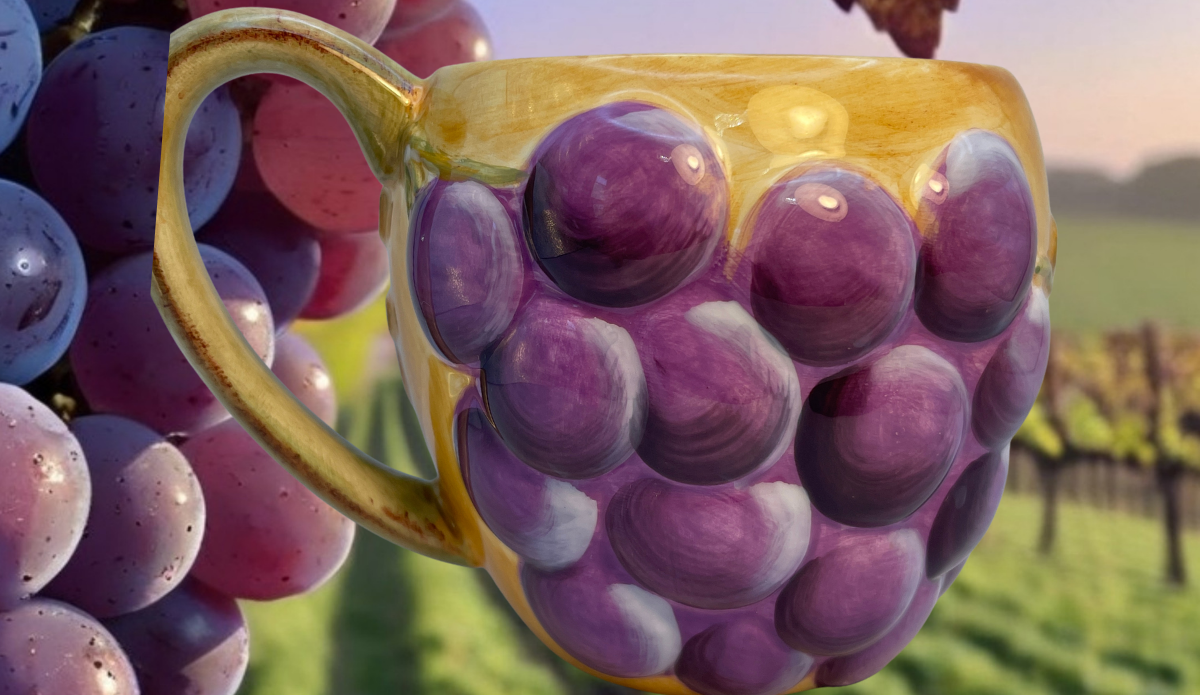
🌿🍇 The Final Sip
Finally, making my first batch of elderberry syrup gave me more than a jar of something delicious. It connected Michael’s thoughtful surprise to my backyard food forest dream. It also gave me another reason to keep learning from my gardening community.
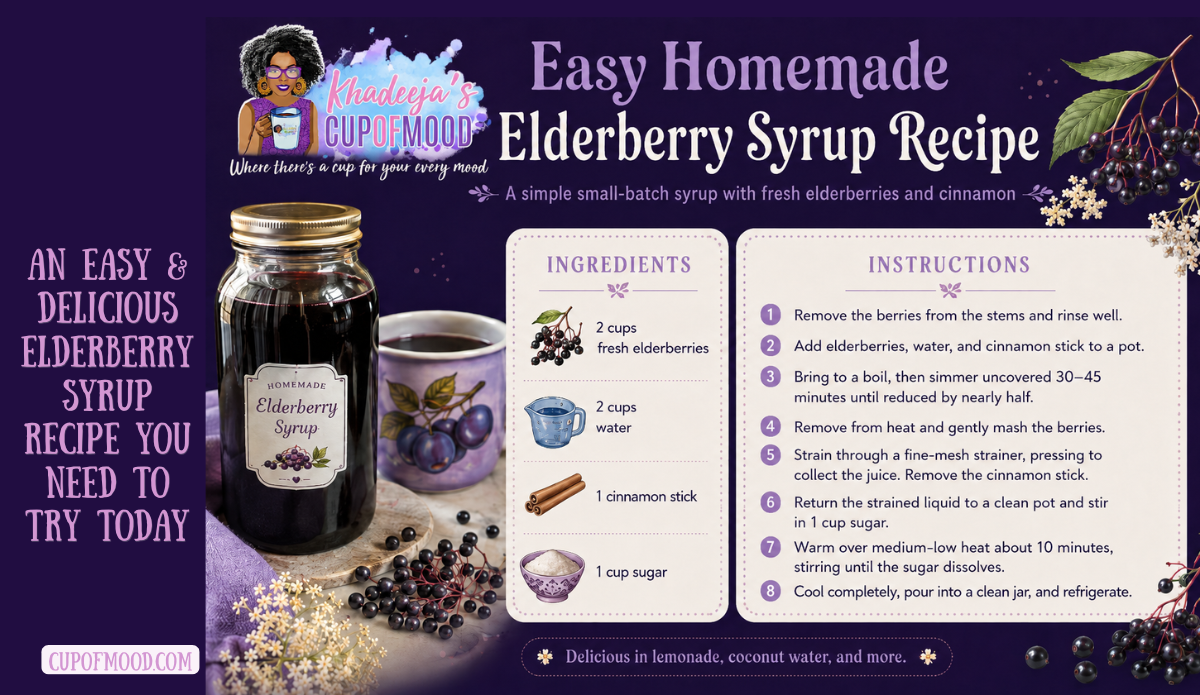
Easy Homemade Elderberry Syrup Recipe
Ingredients
- A generous 2 cups of fresh elderberries
- 2 cups of water
- 1 cinnamon stick
- 1 cup of sugar
Instructions
- Remove the ripe elderberries from the stems, then rinse them thoroughly.
- Place the elderberries, water, and cinnamon stick into a large pot.
- Bring the mixture to a boil over medium heat.
- Lower the heat and simmer uncovered for 30 to 45 minutes, until the liquid reduces by nearly half.
- Remove the pot from the heat and gently mash the cooked berries.
- Strain the mixture through a fine-mesh strainer, pressing firmly to collect the juice.
- Discard the cooked solids and remove the cinnamon stick.
- Pour the strained liquid into a clean pot and stir in one cup of sugar.
- Warm it over medium-low heat for about 10 minutes, stirring until the sugar dissolves.
- Let the syrup cool completely, then transfer it to a clean glass jar with a tight lid.
- Store the elderberry syrup in the refrigerator.
I am excited to try the freezer method with my remaining branches, and I am even more excited to see whether my cuttings root. Perhaps one day, the syrup in my kitchen will begin with berries harvested from my own backyard food forest.
Have you made elderberry syrup, or would elderberry lemonade be your first recipe? Share your ideas because I am already looking for more ways to enjoy it.
Until Next Time,
Namaste,
Khadeeja
#ElderberrySyrup #ElderberryRecipe #HomemadeSyrup #ElderberryLemonade #GardenToKitchen #BackyardFoodForest #FruitRecipe #CupofMood #HomemadeRecipes #FruitCollection